Short answer: How to screen record on Chromebook: press Shift + Ctrl + Show windows, choose Screen record from the toolbar, pick full screen, partial screen, or window, adjust audio in Settings, then start recording. Stop from the bottom-right shelf, or press Search + Shift + X. Recordings save to Downloads by default.
That solves the capture problem, but it does not solve the learning or productivity problem. Students record lectures and rarely watch the entire file again. Product teams record demos and then lose the detail inside a video folder. Marketers save webinars, researchers keep interviews, and managers record meetings, but the useful part is usually a sentence, a decision, or a next step buried somewhere in the timeline.
The better workflow is simple: record the screen on your Chromebook, upload the recording to HiNoter, and turn the video into a transcript, summary, action items, and a mind map. That way the recording becomes searchable knowledge instead of another file you promise yourself you will rewatch later.
Before You Start: What Chromebook Screen Recording Can Capture
Chromebooks include a built-in screen capture tool, so most users do not need heavy desktop recording software. The tool works well for browser-based work: online classes, product walkthroughs, slide decks, help desk demonstrations, training sessions, and lightweight meetings. Google says you can record the full screen, a selected part of the screen, or a single window.
The built-in recorder can also capture audio, but the setting matters. In the Screen Capture toolbar, open Settings before you start. Depending on your Chromebook and ChromeOS version, you can choose device audio, microphone, or both. You can also turn on the front camera for picture-in-picture style explanation, and show clicks and key combinations when teaching a process.
Privacy matters. Record only content you are allowed to capture, especially in classes, customer calls, meetings, employee training, and webinars. If another person is speaking or visible, ask for permission when appropriate and follow your school, employer, or event policy. A screen recording may include names, chat messages, browser tabs, documents, notifications, or account details that are easy to overlook while recording.
How to Screen Record on Chromebook: Step-by-Step
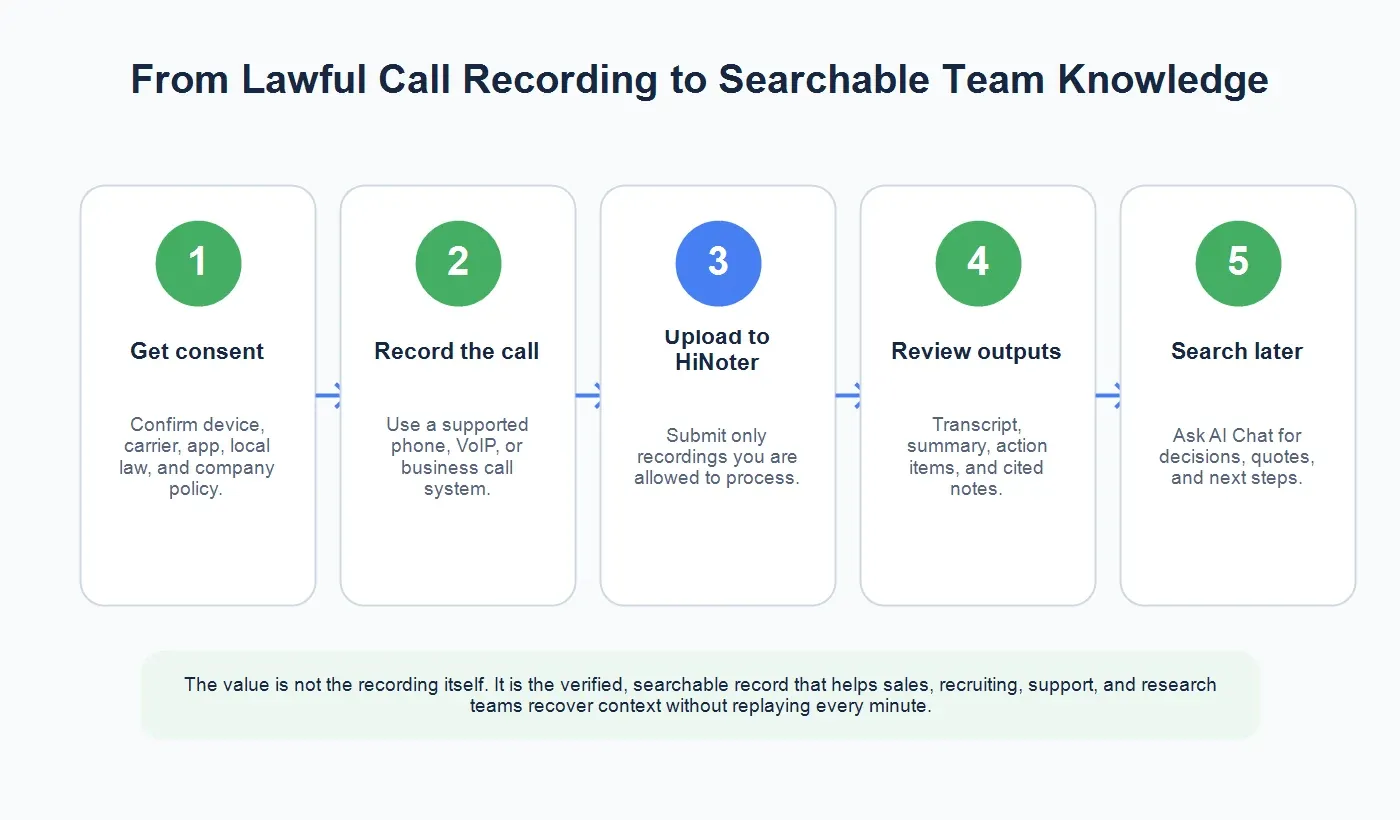
Use these steps when you want the fastest built-in method. They match the official Chromebook screen capture flow and are short enough to follow while preparing for a class, demo, or meeting.
1. Open Screen Capture
Press Shift + Ctrl + Show windows. The Show windows key usually looks like a rectangle with two lines on the right side. If you use an external keyboard without a Show windows key, Google says you can press Ctrl + Shift + F5 instead. Some Chromebooks also have a dedicated Screenshot key.
You can also open the tool from Quick Settings. Select the time at the bottom right of the screen, then choose Screen Capture. This is useful if you do not remember the shortcut or are using a keyboard layout that makes the Show windows key less obvious.
2. Select Screen Record
The toolbar at the bottom lets you choose between screenshot and screen record. Select Screen record. This changes the tool from still image capture to video capture.
3. Choose What to Record
Select one of three recording areas: full screen, partial screen, or window. Full screen is best for lessons and workflows that move across multiple tabs or apps. Partial screen is better when you want to hide unrelated browser tabs or private information. Window recording is useful for product demos, slide presentations, or a single web app.
For tutorials, the partial screen option can make the final video cleaner because it limits distractions. For meetings, full screen may be easier if you need to capture shared content, chat, and speaker context. For software demos, a single window often creates the least clutter.
4. Check Audio, Camera, Clicks, and Keys
Before recording, open Settings in the capture toolbar. If you need sound from the Chromebook, choose device audio. If you want your voice narration, choose microphone. If you need both the system sound and your spoken explanation, choose device audio and microphone. For a teaching video, you may also turn on the front camera and show clicks and keys.
Google notes that GIF recording does not capture audio or video input. If your goal is a lecture recap, meeting summary, or searchable transcript, use video recording rather than GIF. HiNoter can work from audio or video content, but it needs speech content to create meaningful notes.
5. Start Recording
To record the full screen, click anywhere on the screen. To record part of the screen, drag or adjust the selected area, then start. To record a window, select the window you want. Give yourself a second after starting before you begin speaking; that small pause makes the beginning of the recording easier to trim or understand later.
6. Stop Recording
When you are finished, select Stop recording at the bottom right of the screen. You can also use Search + Shift + X. This shortcut is useful when the stop button is hidden behind a full-screen app, presentation, or meeting window.
7. Find the Recording
Chromebook recordings and screenshots save to the Downloads folder by default. Google also says you can change the save location from the Screen Capture toolbar by opening Settings and choosing Select folder. If you record often, create a dedicated folder such as Class Recordings, Product Demos, Webinars, or Meeting Clips so files do not disappear into a crowded Downloads folder.
Which Capture Option Should You Use?
The recording area affects how easy the file is to review later. The best choice depends on the content, the amount of privacy risk, and what you plan to do after recording.
Full Screen
Use full screen for classes, training, and meetings where context matters across multiple windows. It captures everything, which can be useful, but it also increases the chance of recording private tabs, messages, or notifications. Close unrelated windows before you start.
Partial Screen
Use partial screen when you want to focus on a slide, browser area, whiteboard, or product interface. This is often the best option for students and creators because it cuts out visual noise. It also produces a cleaner source file for a transcript or summary.
Window
Use window recording for demos and browser-based tools. It keeps the audience focused on one app and reduces accidental exposure of private information. If you are recording a customer demo, support tutorial, or internal process walkthrough, window recording is usually the safest default.
Record With Audio: What to Check First
If you want useful AI notes, audio quality matters more than visual polish. A screen recording of a lecture or meeting without clear speech will not summarize well. Before you start, test the microphone, make sure the correct audio option is selected, and reduce background noise.
For online classes and webinars, device audio may capture the speaker's sound. For narrated tutorials, microphone audio captures your explanation. For meetings or demos where both the other person's audio and your voice matter, choose both device audio and microphone if your Chromebook offers that option.
Keep a short verbal marker at the beginning: "This recording covers the onboarding demo for July 7." That gives the transcript a clear topic and helps the summary begin in the right place. At the end, say the key next step out loud. A sentence like "The follow-up is to send the pricing sheet by Friday" is much easier for AI notes to identify than an implied task left in chat.
After Recording: Turn the Video Into Notes With AI
The recording is useful evidence, but the notes are what people actually use. A file named "Screen recording 2026-07-07" does not help much when you need the assignment deadline, the feature bug, the buyer objection, or the webinar quote. The post-recording workflow should convert the video into searchable, structured knowledge.
1. Upload the Chromebook Recording
Find the recording in Downloads and upload it to HiNoter. If the file contains class material, customer information, employee data, or private meeting content, make sure you have permission to process it. HiNoter is especially useful for Chromebook users because the workflow is browser-friendly and does not require a heavy desktop editing suite.
2. Generate a Transcript
A transcript turns the recording into searchable text. That means a student can find the exact explanation of a formula, a support lead can search for the bug reproduction step, and a product manager can locate the moment a customer described a workflow problem. If you are working with video sources often, connect this workflow with a video transcript process so long recordings do not remain locked in video timelines.
3. Review the Summary
HiNoter can summarize the recording so you do not have to rewatch the whole thing. A useful summary should explain what the recording covered, what changed, what mattered, and what should happen next. For classes, that might mean concepts and examples. For demos, it might mean pain points and feature requests. For meetings, it might mean decisions and blockers.
4. Extract Action Items
Recordings often contain promises: send a file, review a proposal, fix a bug, schedule a follow-up, or prepare for the next class. HiNoter can help separate action items from general discussion, which is useful for teams that do not want follow-up work trapped inside a video.
5. Create a Mind Map
A mind map is helpful when the recording covers several related topics. Students can use it to see how ideas connect. Teams can use it to turn a demo or webinar into a clearer content outline. Researchers can use it to group themes before writing up findings.
6. Ask the Recording Questions Later
HiNoter's AI Chat lets you ask questions about your notes with source references. Instead of scrubbing through a video, you can ask, "What did the instructor say about the exam format?" or "Which feature did the customer ask for?" The source-linked answer makes the note more trustworthy than a memory-based recap.
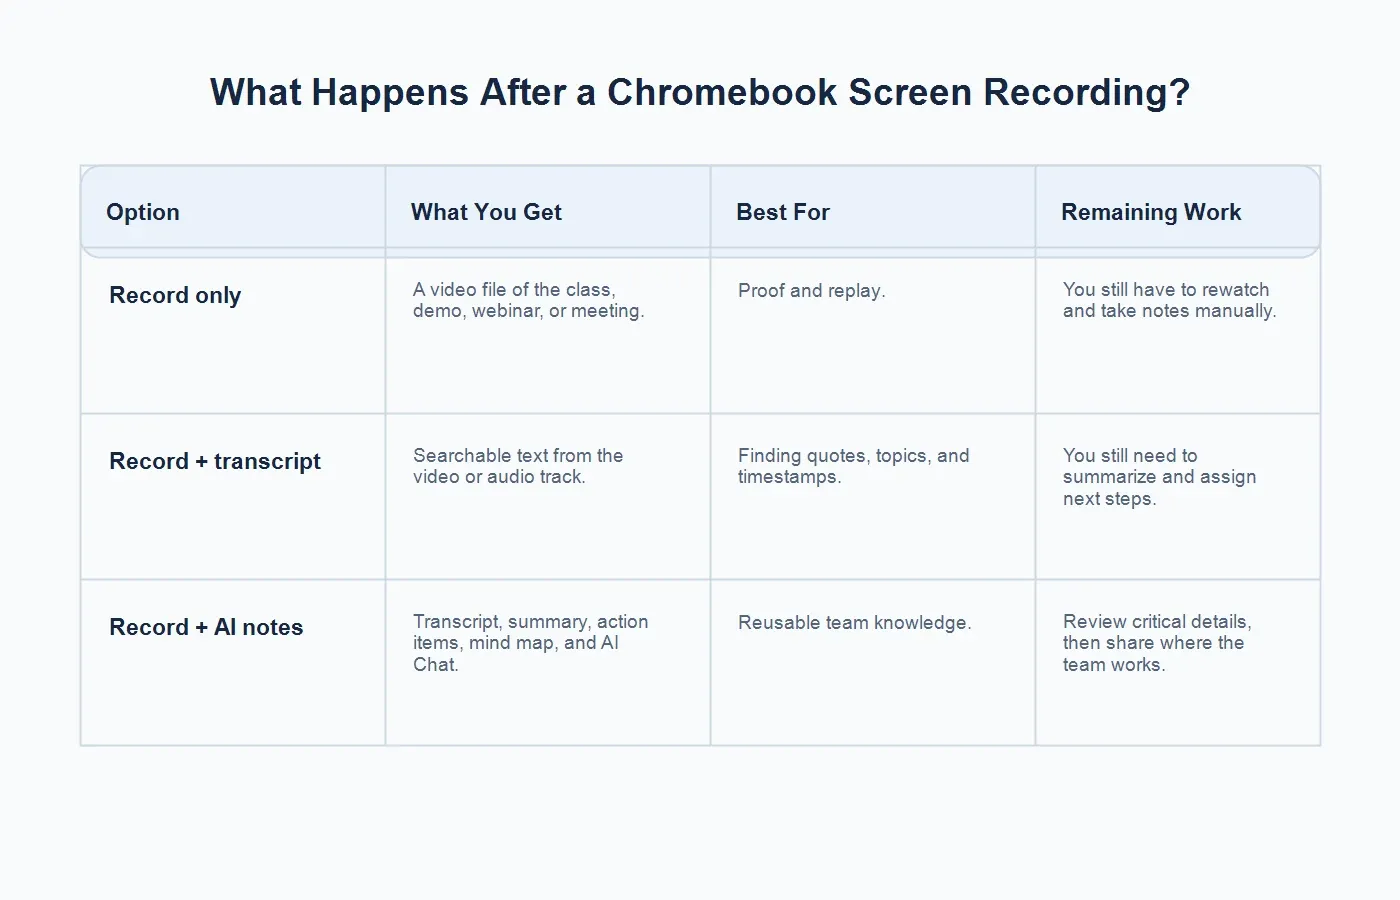
Recording Only vs Transcript vs AI Notes
The biggest mistake is treating the recording as the final deliverable. For most students and teams, the video is only the raw material.
| Option | What You Get | Best For |
|---|---|---|
| Record only | A video file of the class, demo, webinar, or meeting. | Proof, replay, and visual context when you have time to rewatch. |
| Record + transcript | Searchable text from the audio track, often with timestamps. | Finding quotes, topics, explanations, and exact wording quickly. |
| Record + AI notes | Transcript, summary, action items, mind map, and source-linked AI Chat. | Reusable knowledge for students, teams, managers, and researchers. |
Use Cases: What to Record on a Chromebook
Classes and Lectures
Students often record lessons because they are afraid of missing details. The problem is that long videos become another backlog. A better habit is to record the lecture, upload it, and turn it into notes with key concepts, definitions, examples, and questions to review before the next class.
Product Demos
Product and sales teams can record walkthroughs, customer demos, and bug reproductions. The summary helps managers understand what happened without watching the whole video. Action items help the team assign follow-up. A transcript preserves the customer's exact language.
Webinars and Training
Webinars are full of useful material, but few people revisit a one-hour recording. Turning the recording into a summary and mind map makes it easier to reuse the content for internal training, blog ideas, enablement notes, or customer education.
Meetings and Team Updates
If a meeting happens in a browser-based tool, a Chromebook recording can preserve the shared screen and discussion. For recurring meetings, though, consider using AI meeting notes or an AI meeting assistant directly so the notetaking workflow does not depend on manual recording.
Troubleshooting Chromebook Screen Recording
The Shortcut Does Not Work
Try the Screen Capture option from Quick Settings at the bottom right. If you are using an external keyboard, use Ctrl + Shift + F5. If you are on a managed school or work Chromebook, an administrator may restrict some features.
No Audio Was Recorded
Open Screen Capture Settings before recording and choose the right audio source. If you need your voice, select microphone. If you need the content's sound, select device audio. If both matter, select both when available. Test with a 10-second recording before capturing a long class or demo.
The File Is Hard to Find
Check Downloads first. If you changed the save location, open Screen Capture Settings and review the selected folder. For repeat projects, create a dedicated folder and use consistent file names, such as "customer-demo-july-7" or "biology-lecture-cell-division."
The Recording Is Too Long
Long recordings are common, but they are not always useful. Use verbal markers, pause when possible, and stop between topics if you can. If you already have a long file, upload it to HiNoter and use the transcript, summary, and mind map to navigate the content instead of watching it from the beginning.
Privacy and Permission Reminders
Screen recordings can capture more than you intend. Before starting, close private tabs, turn off sensitive notifications, hide password managers, and move personal files out of view. If you are recording a class, meeting, interview, or customer session, follow the rules of the school, employer, platform, or event host.
For team use, create a simple policy: when screen recording is allowed, how people should notify participants, where files should be stored, who can access transcripts, and how long recordings should be retained. The more useful recordings become, the more important it is to handle them responsibly.
Final Takeaway
Learning how to screen record on Chromebook is easy once you know the shortcut. The real productivity gain comes after the recording. A video file is useful for replay, but a transcript, summary, action list, and mind map make the content searchable and reusable.
Upload Chromebook recordings to HiNoter to turn classes, demos, webinars, and meetings into structured notes and searchable knowledge. You can also use HiNoter for audio to text, meeting summaries, and other source materials when your team needs context without another replay session.
FAQs
What is the shortcut to screen record on Chromebook?
Press Shift + Ctrl + Show windows, then choose Screen record from the toolbar. On an external keyboard without a Show windows key, Google says you can press Ctrl + Shift + F5.
Where do Chromebook screen recordings save?
Chromebook recordings save to Downloads by default. You can change the save location from the Screen Capture toolbar by opening Settings and selecting a folder.
Can Chromebook screen recording capture audio?
Yes, when the option is available. In Screen Capture Settings, choose device audio, microphone, or both. GIF recordings do not capture audio or video input.
Can I summarize a Chromebook screen recording with AI?
Yes. Upload the recording to HiNoter to generate a transcript, summary, action items, mind map, and source-linked AI Chat answers.
What file format does Chromebook screen recording use?
Google's Chromebook Help notes that partial-screen video recording uses .webm. GIF recording is also available for partial capture, but GIFs do not capture audio or video input.